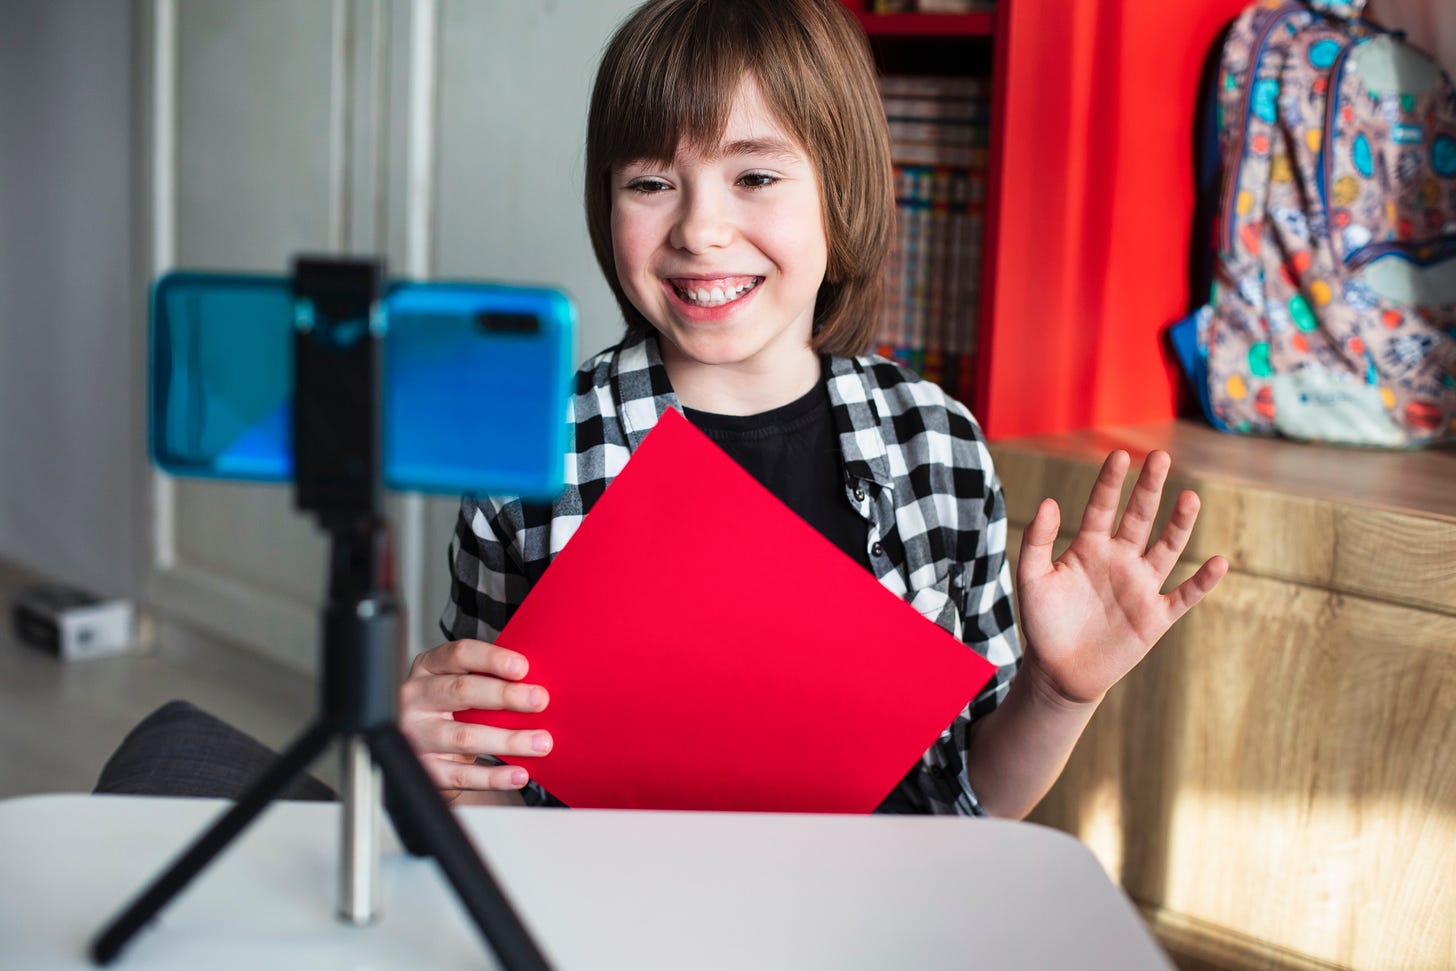
Many kids who watch YouTube will, at some point, want to explore making content themselves. Two things.
This is a great opportunity for them to be creative, which I’m all for.
Distributing the content is something else entirely. There is major risk in allowing the content a child makes out into the world
Today’s post documents the process I ran to allow my kid to have fun and be creative making content while being safe. Both things are possible!
3 Part Process
Branding
Content Creation
Distribution
Branding
Define the Channel
The channel will need a
Name
Tagline
Have your kid explain their vision for the channel. Ask them “what sort of content will it house?” “what was the inspiration?” while you take notes. Or better yet, have them write out their ideas.
Read through the output together and help brainstorm a channel name and a tagline based on what they’ve shared.
From your adult YouTube Account, check to see if the name is taken or what’s available.
Set up the channel under your account (more on why below).
Design the Channel
Once the channel has a name and tagline, your kid can create a visual identity. This means designing
Logo
Color(s)
Font(s)
I recommend doing this in Canva. Once they make a logo, help them upload it to the channel and fill out the description with the tagline.
Safety
When I ran this process, my son and I talked about whether he would show his face or any other identifiable marks in his videos. We ultimately decided that since we would not be making these videos public anytime soon but might someday, it was ok to show his face but that we would avoid showing other markers like wearing a t shirt with his school’s logo. Decide
How much information are you comfortable having them share?
Will this content ever be public?
Content Creation
Scripting & Planning
This is actually a great opportunity to have them learn about or even develop their own creative process. Here are the steps my son followed
Make an outline, then a script for the first video.
Read the script aloud to get a sense of how long the video might be. Revise as necessary to get to a certain length
Keep a notebook (can be a running word doc or note) of ideas for future videos
Decide whether to memorize the script, freestyle or read from a teleprompter app. (We ended up using this free teleprompter app)
Shooting & Editing
Next, we talked through what other apps or technology in addition toYouTube and Canva, he would need to make his video. We chose
Family iPad to record
Teleprompter app to read script while while recording
Capcut software to edit
Google drive folder to store video until I am ready to review & upload
Distribution & More Safety
I do not want my child’s likeness out there publicly. YouTube also does not allow anyone under 13 to upload content which reinforced my decision. He will not have access to my password and the channel will remain under my account until he turns 13. At that time we will discuss our options.
The other reason he will not have my password is so he’s not even tempted to watch content from my adult— and therefore unrestricted— account.
To Recap
I am the owner of the channel in order to manage distribution
He is the creator, and his videos can stay in his google drive folder until I review them and potentially upload them to the YouTube channel
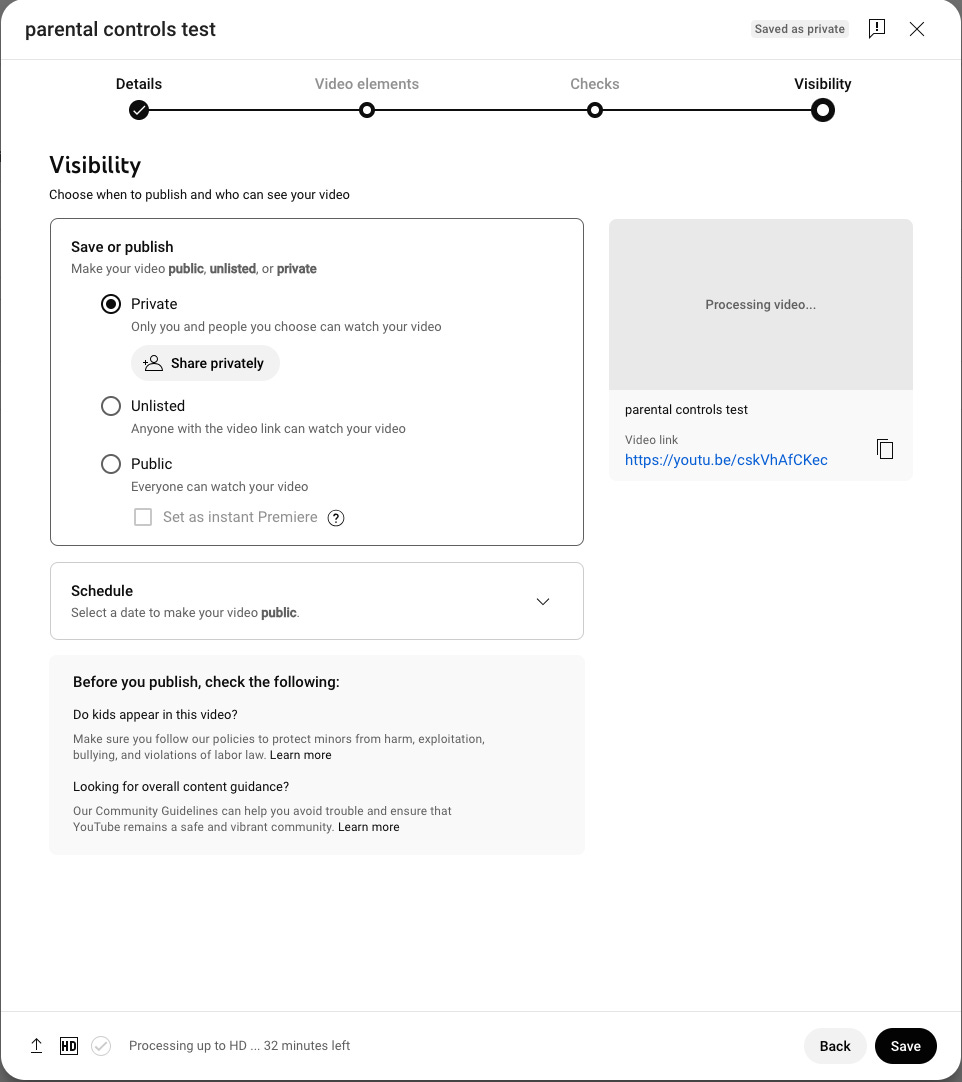
As distribution manager, I set all Videos to private with comments disabled
I will not share the password and under no circumstances is any content to be made visible by anyone other than me.
Consequences
I will suspend access or delete the account if I find him:
Making inappropriate content
Attempting to distribute content without my permission
Watching YouTube from my account
Commenting inappropriately on the content of others
Paid subscribers read on for talking points and house rules i.e. how to actually present this to your kid.
Keep reading with a 7-day free trial
Subscribe to Thoughts From A Digital Mom to keep reading this post and get 7 days of free access to the full post archives.


